
The fastest, safest way to scan a network for devices is to run a blended discovery: deploy passive listeners (NetFlow, DHCP logs, ARP tables) immediately, then follow with sampled ICMP sweeps on small subnet slices before expanding to full active probes. Use segment-aware scheduling, dedicated limited-privilege service accounts, and automated reconciliation into your inventory. That combination gives you coverage without congestion and a living asset record instead of a snapshot that ages out within weeks.
Start here — what to run in the first hour:
- Deploy passive monitoring on SPAN/mirror ports to collect ARP and NetFlow telemetry with zero probe traffic
- Pull current DHCP lease tables and ARP caches from your routers and switches
- Run a sampled ICMP sweep on a representative 10–20% slice of each subnet before touching the full range
- Ingest NetFlow and DHCP logs into your inventory pipeline for transient and BYOD visibility
NIST testing practices and enterprise vendor guidance both reinforce the same principle: treat every scan as a controlled change, not a background task. Without automated reconciliation, device churn and unauthorized additions erase inventory accuracy within weeks.
Table of Contents
- What should you do in the first 72 hours of network discovery?
- Active vs. passive discovery: which method finds what?
- How do you scale discovery across large, distributed environments safely?
- How do you make network discovery continuous and prevent inventory drift?
- How does discovery support security and compliance for U.S. operations teams?
- How do you turn raw discovery data into a trusted CMDB inventory?
- What does a phased rollout look like for MSPs and multi-site enterprises?
- How Netverge operationalizes continuous discovery at scale
- Key Takeaways
- What most teams get wrong about network discovery
- Netverge puts this playbook into practice
- Useful sources and further reading
What should you do in the first 72 hours of network discovery?
A safe first pass follows a clear sequence. Move fast on passive collection; move carefully on active probes.
Pre-scan safeguards:
- Notify site owners and application teams before any active scanning begins
- Schedule active probes during maintenance windows or off-peak hours
- Document rollback steps and keep an emergency contact list for each site
- Identify fragile VLANs (OT, medical devices, legacy controllers) and exclude them from initial active sweeps
Immediate probes:
- Deploy passive monitoring first: SPAN/mirror ports, NetFlow collectors, DHCP log ingestion
- Collect ARP tables from layer-2 switches to build a MAC-to-IP map
- Run sampled active probes (ICMP, ARP) on a small subnet slice to validate methods before full coverage
- Flag any VLANs containing embedded or IoT devices for conservative, separate treatment
Authentication and accounts:
- Create dedicated, limited-privilege service accounts for all discovery tasks
- Never reuse production-critical credentials; a single bad credential policy can make an entire scan look incomplete
- Store scanning credentials in a secrets manager and rotate them on a defined schedule
Pro Tip: When in doubt, sample 10–20% of a subnet first. Validate that your probe settings, exclusions, and credentials behave as expected before expanding. Escalate to deeper SNMP or WMI probes only after that pilot confirms non-impact.

Active vs. passive discovery: which method finds what?
No single method covers everything. Effective network device discovery requires combining protocols because each surfaces different attributes.
| Method | Typical data returned | Risk level | Best use case |
|---|---|---|---|
| Passive (NetFlow/DHCP/ARP) | IP, MAC, first/last-seen, traffic flows | Very low | Continuous baseline, BYOD, transient devices |
| Active ICMP sweep | Reachability, latency, basic host count | Low | Fast subnet census, live-host confirmation |
| SNMP queries | Interface counters, VLAN, switch port, device model | Low–medium | Network appliances, switches, routers |
| WMI/WinRM | Installed software, patch level, OS config | Medium | Windows servers and endpoints |
| SSH probes | OS version, running services, config state | Medium | Linux/Unix systems |
| API pulls | Cloud inventory, virtual machines, containers | Low | Cloud-native and hybrid assets |
Key trade-offs to know:
- Passive methods are continuous and low-risk but return limited detail on services and patch state
- Active probes deliver richer fingerprints but can overwhelm fragile legacy or embedded IoT devices
- Agent-based discovery gives the richest telemetry and reaches off-network assets; agentless deploys faster for network-only infrastructure
- ARP and MAC data confirm local reachability; SNMP adds switch-port context; WMI and SSH reveal the software layer
How do you scale discovery across large, distributed environments safely?
The "scan everything" approach is the most common pitfall in large-scale network inventory work. Segmenting by topology and device sensitivity prevents congestion and protects fragile assets.
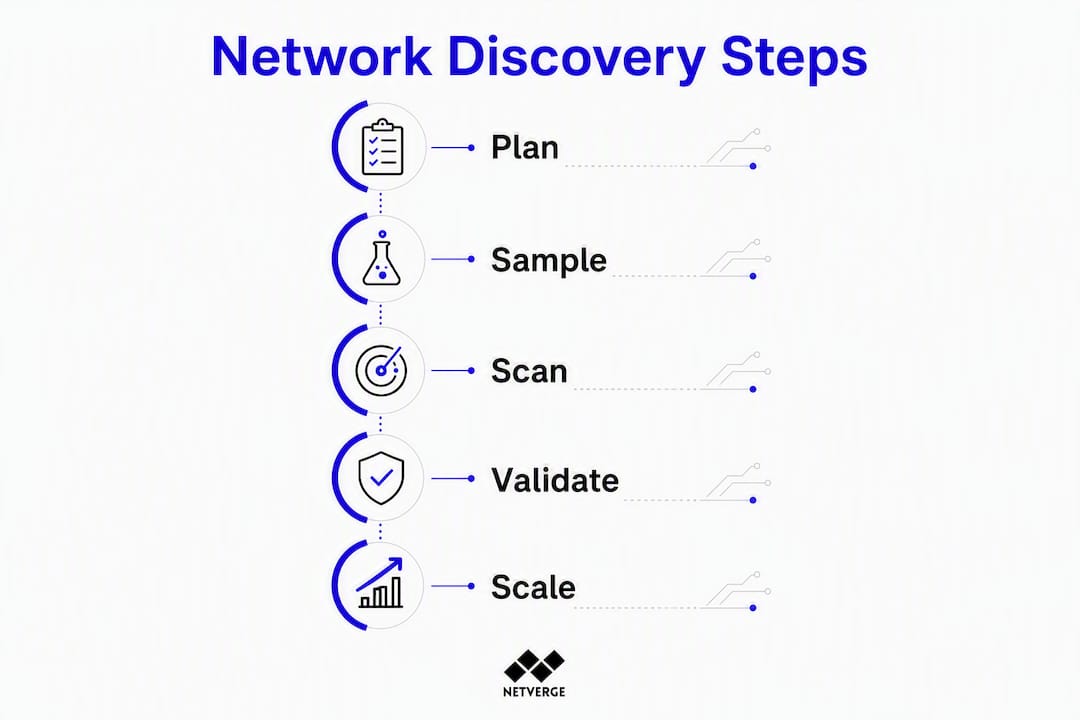
- Define scan zones. Segment discovery by VLAN, site, or business unit. Place scanners close to their targets to reduce latency and avoid packet amplification across WAN links.
- Apply subnet sampling. Start with a 10–20% sample of large subnets. Validate coverage and non-impact before expanding. Scanning a live host costs less time than rescanning dead hosts; complex, locked-down systems consume significantly more scanner resources than idle ones.
- Set rate limits. Apply per-device and per-subnet throttles. Use Nmap's built-in congestion window and exponential backoff controls, or equivalent settings in your platform, to avoid flooding sensitive segments.
- Schedule heavy scans. Run deep active scans (SNMP, WMI, SSH) during maintenance windows. Use incremental scans for high-churn segments where the device population changes daily.
- Distribute scanner load. Deploy one scanner per zone. As a starting distribution rule, enterprise guidance recommends planning for approximately one scanner per 5,000 active IP addresses to avoid overload and latency problems. Never scan the same IP space from inside and outside simultaneously.
For multi-location network visibility, per-site scanner placement is the single biggest factor in coverage quality.
How do you make network discovery continuous and prevent inventory drift?
Treat discovery as a lifecycle, not a project. The cycle is: detect → normalize → reconcile → notify → remediate. Each stage feeds the next.
Automation patterns by segment type:
- High-churn segments (user VLANs, guest Wi-Fi): continuous passive collection via NetFlow and DHCP logs
- Mobile and remote assets: agent-based reporting for off-network reach
- Stable infrastructure (servers, core switches): scheduled incremental active scans every 24–72 hours
Reconciliation process:
- Canonicalize every discovered asset by its immutable identifier: serial number or UUID first, MAC address second, hostname last
- Apply merge rules to collapse duplicate records created by IP changes or interface flaps
- Run automated duplicate detection after every scan cycle to prevent asset count inflation
- Flag new, unrecognized assets for owner assignment within a defined SLA
- Retain raw discovery events long enough for forensic linkage; store only the canonical record in your operational inventory
Pro Tip: Plan your initial asset count 20–30% higher than your current tracked inventory. Initial discovery scans routinely surface previously unseen systems — shadow IT, forgotten lab gear, and unregistered IoT devices that were never in the CMDB.
How does discovery support security and compliance for U.S. operations teams?
Unmanaged assets are the most common vectors for security vulnerabilities. Treat every scan as an attendance check: any device not in your inventory is a risk until proven otherwise.
Security integration checklist:
- Map discovered IPs directly to your vulnerability management scanner scope so unmanaged assets get assessed automatically
- Use passive and agent signals alongside DHCP/ARP anomalies to flag unauthorized devices for shadow IT investigation
- Feed confirmed unmanaged or high-risk assets into your ticketing system as remediation work items
- Encrypt discovery traffic where the protocol supports it; log all discovery actions for audit trail purposes
- Apply role-based access control (RBAC) to scanning credentials and discovery dashboards
U.S. compliance drivers:
- PCI DSS (Requirement 11.2) mandates quarterly internal network scans and an auditable device inventory
- HIPAA Security Rule requires covered entities to maintain accurate inventories of systems that store or transmit ePHI
- Both frameworks require documented evidence of scanning activity, making discovery logs a compliance artifact, not just an operational record
This article provides general operational guidance. Confirm current regulatory requirements with a qualified compliance professional for your specific environment.
How do you turn raw discovery data into a trusted CMDB inventory?
Raw scan output is not an inventory. Normalization and ownership assignment are what make it operationally useful.
| Field | Why it matters |
|---|---|
| Hostname | Human-readable label; mutable, so never use as primary key |
| Serial / UUID | Immutable hardware identifier; use as canonical key for deduplication |
| MAC address | Layer-2 identity; use for merge rules when serial is unavailable |
| IP history | Tracks address changes; critical for forensic linkage |
| First / last seen | Measures asset lifecycle and detects stale records |
| Fingerprinted OS / services | Feeds vulnerability management scope and patch prioritization |
| Location / VLAN | Enables zone-based policy and compliance scoping |
| Owner / team | Required for remediation ticket routing and SLA enforcement |
Workflow steps:
- Auto-create or update the asset record in your CMDB on each scan cycle
- Assign an owner based on VLAN, subnet, or AD group membership rules
- Open a remediation ticket automatically for any unmanaged or high-risk asset
- Schedule a re-scan after remediation to confirm the asset is now managed and patched
- Archive stale records (last-seen beyond your retention threshold) rather than deleting them
Agentless autodiscovery can populate CMDB foundations with switch-port, MAC, VLAN, and serial data without requiring agents on every device.
What does a phased rollout look like for MSPs and multi-site enterprises?
| Phase | Timeline | Key activities | Success criteria |
|---|---|---|---|
| Pilot | 2–4 weeks | Deploy on 1–3 high-value sites; validate methods, credentials, and rate limits | Zero production impact; high live-host coverage confirmed |
| Regional scale | 1–3 months | Roll out per-site scanners or agents; automate reconciliation; measure drift rate | Discovery coverage above target threshold; owner assignment SLA met |
| Enterprise operate | Ongoing | Continuous passive collection + scheduled active scans; runbook for remediation | Inventory freshness SLA maintained; unmanaged assets resolved within defined window |
Cost drivers to budget:
- Scanner hardware or virtual appliance licensing per site
- Agent licensing for mobile and remote endpoints
- Per-asset or per-IP licensing on your discovery platform
- Engineering time for credential setup, VLAN mapping, and CMDB integration
- Bandwidth allocation for active scan traffic on WAN-connected sites
MSPs managing distributed networks should plan the pilot phase around their highest-churn, highest-risk sites first. That validates the method where it matters most before broad rollout.
How Netverge operationalizes continuous discovery at scale
Netverge is built specifically for the MSP and multi-site enterprise use case described throughout this guide. Its architecture maps directly to the lifecycle above.
Platform capabilities:
- Vergepoints: plug-and-play edge hardware deployed per site or per VLAN for continuous local discovery, capturing after-hours IoT and BYOD connections that software-only scans miss
- 28+ intelligent sensors: cover SNMP, ICMP, NetFlow, DHCP, WMI, SSH, and API integrations in a single agent, eliminating the need for separate per-protocol tools
- Automated reconciliation engine: canonicalizes by serial/UUID, merges by MAC/IP rules, and runs duplicate detection after every cycle to prevent asset inflation
- AI-assisted triage: flags unmanaged and high-risk assets, routes remediation tickets automatically, and reduces false positives in vulnerability pipelines
- Multi-tenant dashboards: give MSPs per-client visibility with role-based access, keeping discovery data scoped and auditable across accounts
- CMDB and ticketing integration: discovery findings flow directly into asset records and work items without manual export steps
Netverge's Vergepoints provide continuous per-site visibility that captures transient and after-hours connections — the devices that scheduled software scans consistently miss in distributed environments.
For enterprise network monitoring at scale, Netverge consolidates what would otherwise require four or five separate tools into one platform with a single data model.
Key Takeaways
Continuous, automated discovery with segment-aware scheduling and reconciliation by serial/UUID is the only reliable way to maintain an accurate device inventory across distributed networks.
| Point | Details |
|---|---|
| Discovery is a lifecycle | Without automated reconciliation, device churn erases inventory accuracy within weeks. |
| Scale with zones and sampling | Use scan zones, subnet sampling of 10–20%, and rate limits to avoid congestion and protect fragile devices. |
| Use dedicated service accounts | Limited-privilege accounts for scanning prevent lockouts and keep production credentials out of discovery tools. |
| Connect discovery to security workflows | Map discovered assets to vulnerability management and auto-create tickets for unmanaged or high-risk devices. |
| Netverge unifies the stack | Vergepoints, 28+ sensors, automated reconciliation, and AI triage replace fragmented tools with one continuous discovery platform. |
What most teams get wrong about network discovery
The assumption that a one-time scan produces a reliable inventory is the most expensive mistake in this space. Networks change constantly: devices connect and disconnect, IP addresses shift, and shadow IT accumulates faster than quarterly scan cycles can track it. The teams that run a full active sweep on day one, then wonder why their CMDB is already stale by day thirty, skipped the passive layer entirely.
The second mistake is credential sprawl. Using a domain admin account for scanning because it "just works" is a shortcut that creates real exposure. A dedicated read-only service account per asset class takes an afternoon to configure and eliminates an entire category of risk.
The third, and most overlooked, mistake is treating discovery as an IT operations task with no security handoff. Every unmanaged device your scan surfaces is a potential entry point. The value of discovery is not the inventory itself; it is the remediation workflow it triggers. If your scans are not automatically opening tickets for unmanaged assets, you are collecting data and doing nothing with it.
Start small, normalize by serial/UUID from day one, automate duplicate detection before your asset count becomes inaccurate, and document your rollback steps before you touch a single production subnet.
Netverge puts this playbook into practice
If the phased approach above describes where you want to be, Netverge gets you there without assembling a stack of separate tools.
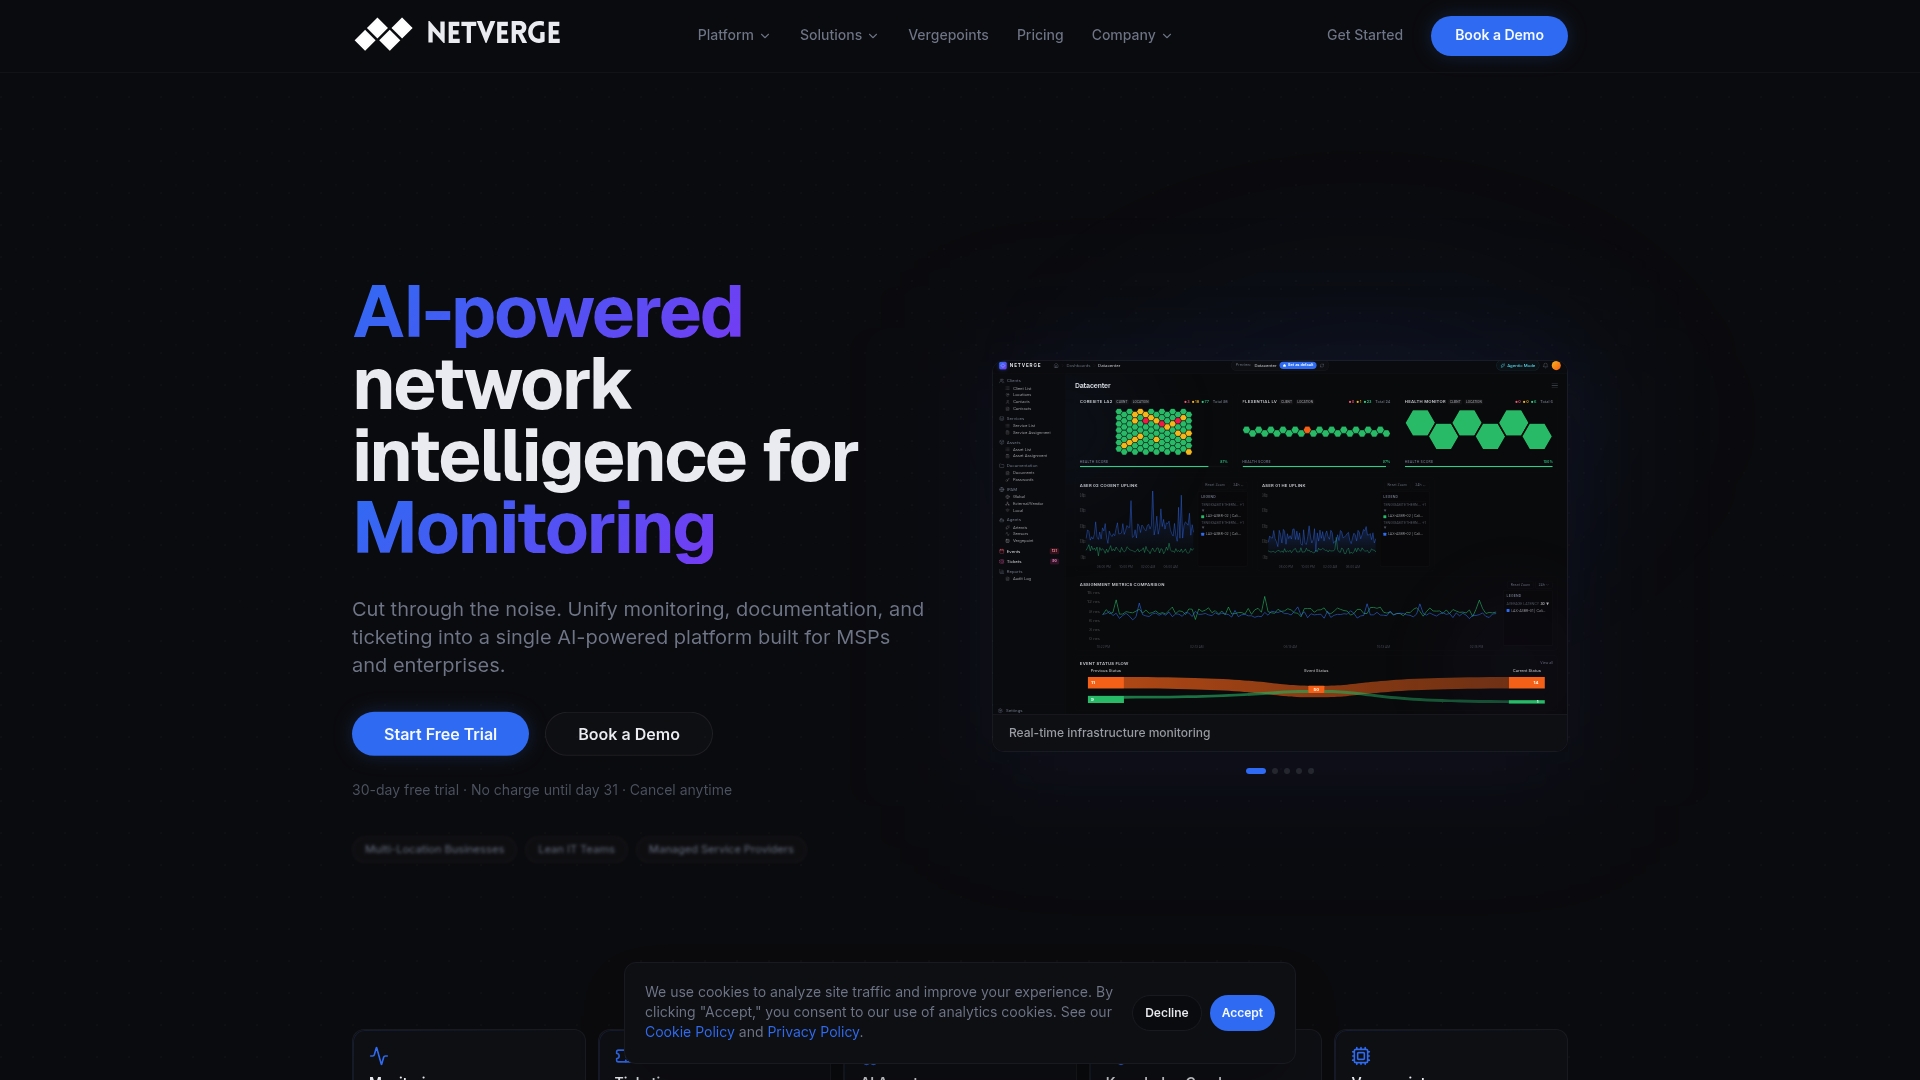
Vergepoints deploy per site in minutes and begin passive discovery immediately. The platform's 28+ sensors cover every protocol in this guide, its reconciliation engine keeps your inventory accurate between active scan cycles, and AI triage routes unmanaged asset tickets without manual review. For MSPs, multi-tenant dashboards keep each client's discovery data scoped and auditable.
Start your network monitoring trial or explore the MSP platform to schedule a pilot on your highest-priority sites.
Useful sources and further reading
- Nmap Scan Code and Algorithms — deep reference on parallelization, congestion control, and retransmission logic
- Tenable Network Scanning Guide — shadow IT detection and unmanaged asset prioritization
- Tenable Security Center Large Enterprise Deployment Guide — scanner placement, subnet sampling, and asset count planning
- Network Discovery: How It Works, Benefits, and Best Practices for ITAM — continuous lifecycle and reconciliation patterns
- Device42 Autodiscovery Best Practices — normalization rules, serial/UUID canonicalization, CMDB population
- Scanning Global Networks — runZero Blog — segmentation, conservative timing, and fragile-device handling
- Network Device Discovery for Large Enterprises — Slurp'it — multi-protocol coverage and transient device detection
- How to Perform a Vulnerability Scan on a Large Network — ITU Online — phased execution, credential management, and scan validation
- What Is Network Scanning? — TechTarget — protocol overview and scanning type definitions
- Netverge: Step-by-Step Network Visibility for IT Teams — operational guidance for continuous visibility across sites
- Netverge Distributed Network Operations Guide — runbooks, maintenance windows, and multi-site operations playbook